Making your own baguette
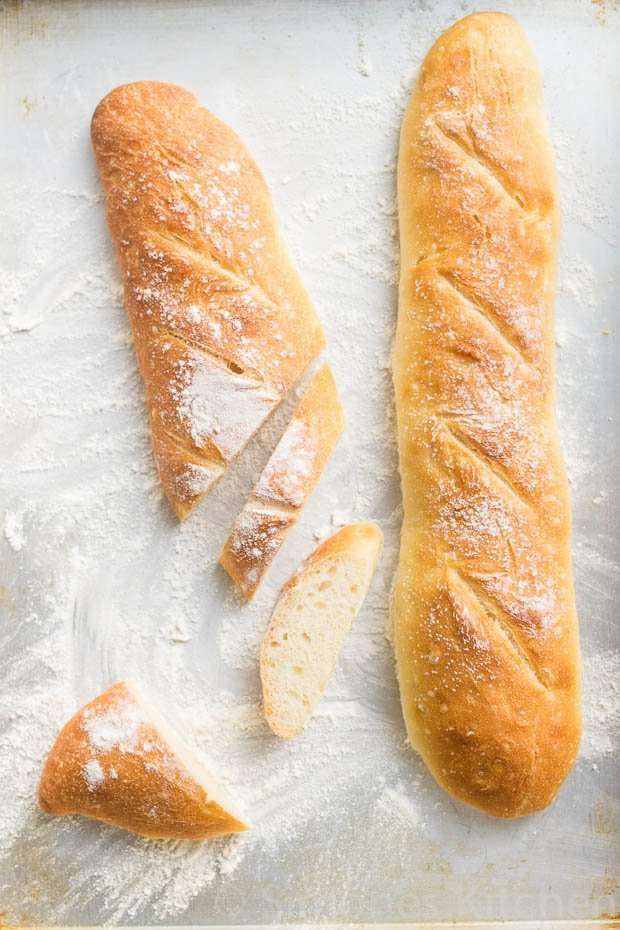
If you have ever tasted that most famous french bread, the baguette, you will be pleased to know that it is quite possible to make this at home!

Making your own baguette
I received the book Baking with Paul Hollywood on my doorstep last week and really, if you go through the book you want to make all of the available recipes. Or at least I do. Maybe not the sourdough. Sourdough and me do not go together all that well. Although I have only attempted it one time so maybe that is the reason and a little practice would solve the issue. But that is a side note.
Now I have always wanted to make my own baguette. So when I saw the recipe in the book I knew straight away what I wanted to make. A baguette is thinner than the usual ones we have here but that didn’t really matter.
We had a BBQ that evening with friends, so the perfect opportunity to make my own bread.

Wet dough
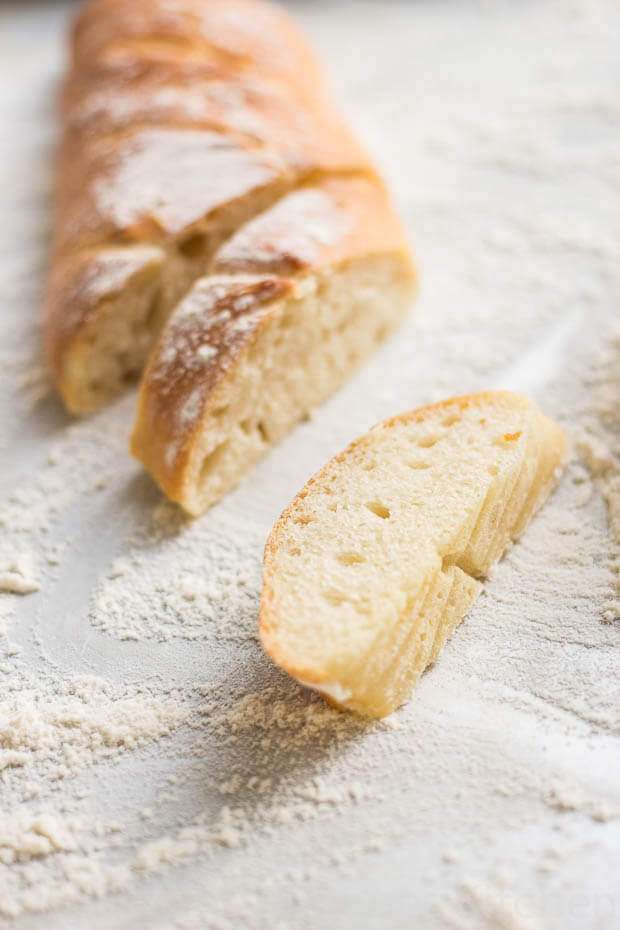
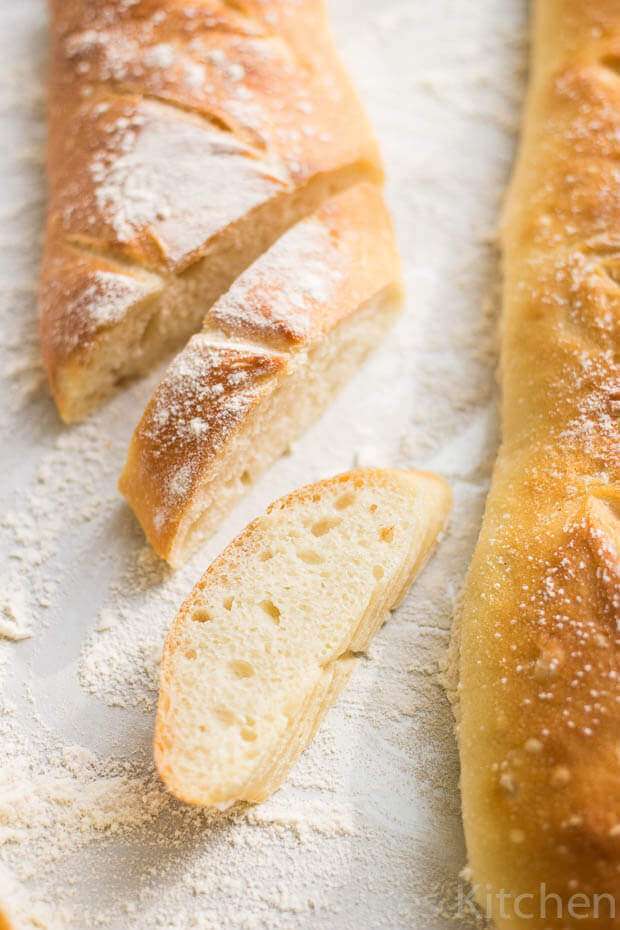
Dough for a baguette is fairly wet and Paul suggests it is easier to make when using a stand mixer. Now I do not have the best of experiences when it comes to kneading dough in my Kitchenaid. I find it not the best method for a stiffer dough but since this was a wet dough I figured I give it a go. So my machine did all the kneading. And judging by the end result I think it might have needed a little bit longer than it did, but regardless; the bread itself was crunchy and delicious.

Flour
Using a different type of flour will also make a difference. I used regular supermarket flour this time and while it wasn’t bad I am interested in finding out the difference in flours when going for the better ones I usually buy. My shaping skills also left a little bit to be desired but all in all I thought it looked pretty and tasted good, so mission accomplished I would say!
The book is filled with wonderful breads with fillings and such and I will be trying to make lots of stuff from it. I can guarantee you that!
Baking with Paul Hollywood is published here in the Netherlands by GoodCook and is available through bookstores and at bol.com and in English at Amazon.

Baguette
Ingredients
- 500 gr all purpose flour plus extra for dusting
- 10 gr salt
- 10 gr yeast
- 370 ml cold water
- oliveoil for kneading
- Grease a square shaped bowl of about 2-3 liter with oil (the shape is important for shaping the dough later)
- Add the flour, the salt and the yeast in a bowl of a standmixer with a dough hook. Make sure you do not put the salt and the yeast on top of eachother but keep them on the opposite side of the bowl.
- Add about 3/4 of the water and mix at low speed until the dough comes together. Add the remaining water and mix at medium speed for about 5-7 minutes or until the dough is smooth and elastic.
- Place the dough in the oiled form and cover with a cleam teatowel and leave to rise for about one hour or until it doubles in size at least.
- Cover two bakingtrays with baking paper.
- Sprinkle some oliveoil on the workbench and carefully place the dough on it. Don’t punch it back but handle it carefully, to retain as much air in the dough as possible
- Divide into 4-5 pieces and shape each pieces in an oval shape by carefully flattening the dough a bit and folding the outsides inwards. Roll them into a sausage shape
- The top should be smooth with a seam across the bottom. Now roll each sausage with your hands from the middle until they reach the desired length.
- Put 2 or 3 baguettes on each baking tray. Put them into a clean plastic bag and leave to rise for about 1 hour or doubled in size. The dough should spring back lightly when touched.
- Preheat the oven to 220 C and heat a baking tray at the bottom of the oven
- Lightly dust the baguettes with flour once they have risen. Carve them quickly with a razor or very sharp knife in a diagonal. Fill the baking tray with hot water (creating steam) and put the bread into the oven.
- Bake for 25 minutes or until the baguettes are golden and lightly shiny. Leave to cool on a rack.
Disclaimer
The nutritional values above are calculated per portion. The details are based on standard nutritional tables and do not constitute a professional nutritional advice.


I love his books. I have this and another bread book from him and love both of them. Ofcourse i love him too 🙂
Lol.. Yes who doesn’t right? 😉
Fun project! We’ve made baguettes in the past, although it’s been quite some time. We do make almost all of our bread, though (usually more a rustic boule or sandwich bread) and always have good luck using our stand mixer (our KitchenAid of 30+ years finally died, so we’re currently using a Cuisinart, which we like — to our surprise, because we never thought we’d switch from KitchenAid). Anyway, fun post — thanks.
Thanks John. Just out of curiosity; which hook did you use with your Kitchenaid? The dough hook or the butterfly hook (not sure if that is the proper name)?
I do not know this cookbook author, so thank you for the introduction. This is mu first visit to your very beautiful site. Congratulations on some very beautifully made bread – no apologies are necessary. You did a superb job!
Thanks so much Adri! Much appreciated! And welcome ofcourse!
It’s been so long since I’ve made a baguette. I pinned this recipe am excited to try.
O good! I love baguette and this one was a winner!
Hi Simone, we used the dough hook (the other is called, I believe, flat beater). The newer KitchenAids have a much better dough hook, or so we’ve read (the one we had was not that great). You do have to fuss a bit when kneading dough with the older model KitchenAid dough hook. No experience with the new one, but we’ve read it’s good. The Cuisinart has an extremely good dough hook — basically just let the machine do its stuff — no fussing necessary.
Want to give these a try, my baguette is usually perfect for clubbing someone to death, not that I would of course, but you could. lol!
Will give this recipe a try 😀
Haha. Yes these are not exactly deadly… 🙂
I have read lots of recipes to make baguette but yours really sound simple and easy to do..just because maybe you have explained it beautifully..thanks for sharing & love this pictures which make me exciting to try this recipe right now