 Posted on
by
Posted on
by  0 Comments
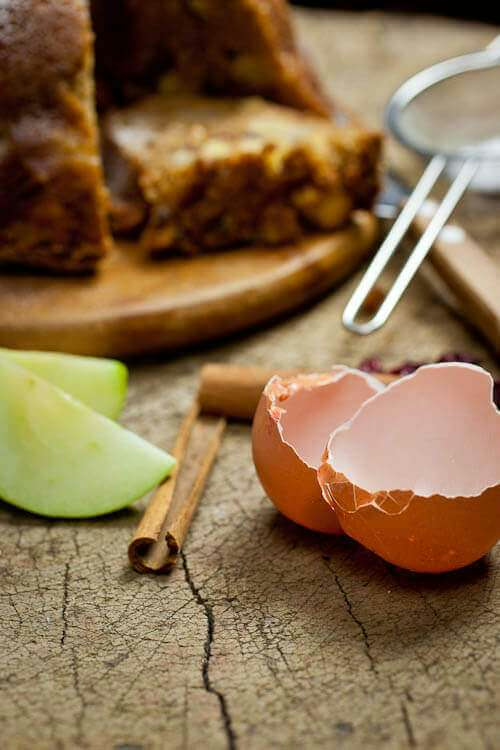
Delicious apple pear bundt cake that is perfect for the autumn season and stays lovely and moist for quite a while due to the fruits and the raisins/cranberries used.

Apple pear bundt cake
I made this pretty moist and delicious bundt cake this afternoon. It came out of the oven around 4.30 pm, then had to cool and by the time I wanted to take a photo there was no light left whatsoever. So these photos of the apple pear bundt cake might not be my best but I had to use a quick daylight lamp I had lying around, so it’ll have to do.
That said; the bundt cake itself is absolute perfection. All the fruit, nuts, cranberries and spices give it an irresistible flavor. So good! As soon as I bake this cake I feel like fall has just started. No matter what the actual season.
Easy bundt
I do love easy bundt cakes like I have made before like this persimmon bundt or this chocolate bundt. Just the simple act of baking something in a bundt tin is enough to transform it from a regular cake to a thing of beauty. That said; you can – of course – make this apple pear bundt in a regular cake tin as well. In that case you might want to go for a 10 inch cake tin and check the time in the oven as it might be less.
I also think you might have some batter left over as a regular cake tin tends to be somewhat smaller than a bundt tin.
Apple pear bundt cake
Ingredients
- 1/2 cup dried cranberries
- 2 cups all purpose flour
- 1 tsp baking powder
- 1/2 tsp baking soda
- 1 tsp ground cinnamon
- 1 tsp nutmeg freshly grated
- 1/4 tsp ground cloves
- 1 cup light brown sugar packed
- 1 cup granulated sugar
- 1 cup unsalted butter 2 sticks, softened
- 3 eggs large ones
- 1 tsp vanilla extract
- 1 pears peeled, cored and cut into small pieces
- 2 apple Golden Delicious (peeled, cored and cut into small pieces)
- 1 cup Mixed nuts coarsely chopped
- 1/2 tsp salt
Titel
- In a small bowl put the cranberries with a bit of warm water and let them soak for at least an hour. Drain, discarding the water and set aside. Position rack in the middle of an oven and preheat the oven to 180˚ C/350˚F. Lightly butter the bundt tin, then dust with flour, knocking out the excess.
- In a large mixing bow or bowl of electric mixer, sift together flour, baking powder, baking soda, cinnamon, nutmeg, cloves and salt. Add brown and granulated sugars, butter, eggs and vanilla. Using electric mixer, beat on high speed, scraping down sides of bowl with rubber spatula as needed, until batter is pale and smooth, about 3 minutes for handheld mixer and 2 minutes for standmixer. Stir in apples, pears, nuts and cranberries. Spoon into prepared pan and smooth the top.
- Bake until a wooden pick or skewer comes out clean when inserted into the center of the cake. About 1 hour. Cool cake in pan on a rack for 10 minutes, then invert and unmold onto rack and cool completely. Cake can be made up to three days in advance and stored at room temperature wrapped tightly in plastic wrapp
Nutrition Information per portion:
Disclaimer:
The nutritional values above are calculated per portion. The details are based on standard nutritional tables and do not constitute a professional nutritional advice.


