Chocolate hazelnut cake recipe in a bundt tin
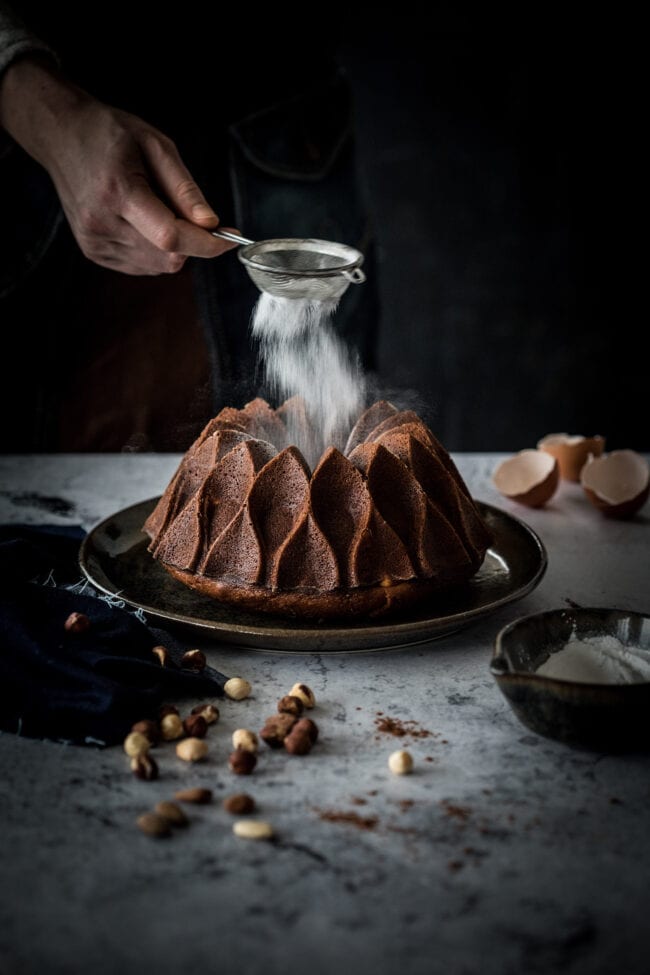
Delicious and easy to make chocolate hazelnut cake. I’ve baked it in a bundt tin as that makes it look extra pretty but you can also use a regular cake tin if you prefer. It has lots of crunchy and delicious roasted nuts inside!
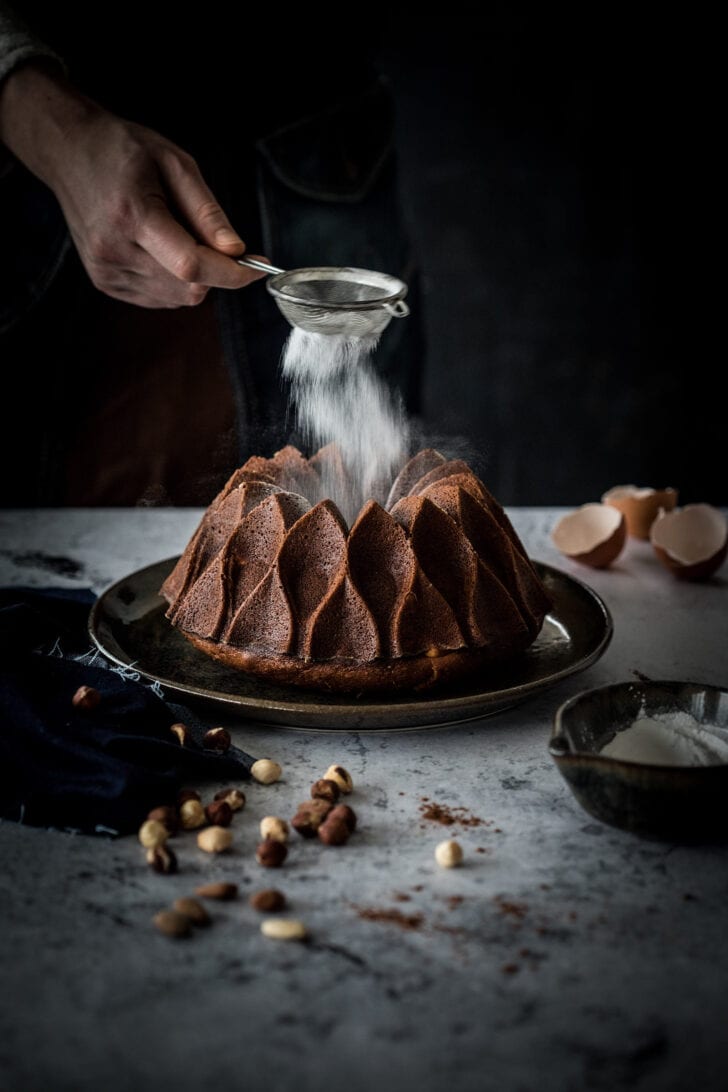
Chocolate hazelnut cake
I have a soft spot for anything baked in a bundt tin. I am in love with the molds from Nordic Ware as they are so pretty! (not commercial, just a fan) This one is called heritage crown if I’m not mistaken and is one of my favorites and perfect for this chocolate hazelnut cake. It’s a rich chocolate cake and contains lots of chopped hazelnuts. I have not yet tried to make this by also adding some hazelnut flour but I think that would make it even more delicious. But for now this is the regular version.
What can you find in this post?
What you need to make the cake
Making the cake is pretty straightforward. I’ve used self rising flour but if you do not have that you can use regular all purpose flour and add some baking powder. That will do the trick as well. Now for using the bundt cake the most important thing is to brush the tin with melted butter and dust it with flour. Set aside and wait for it to be filled.
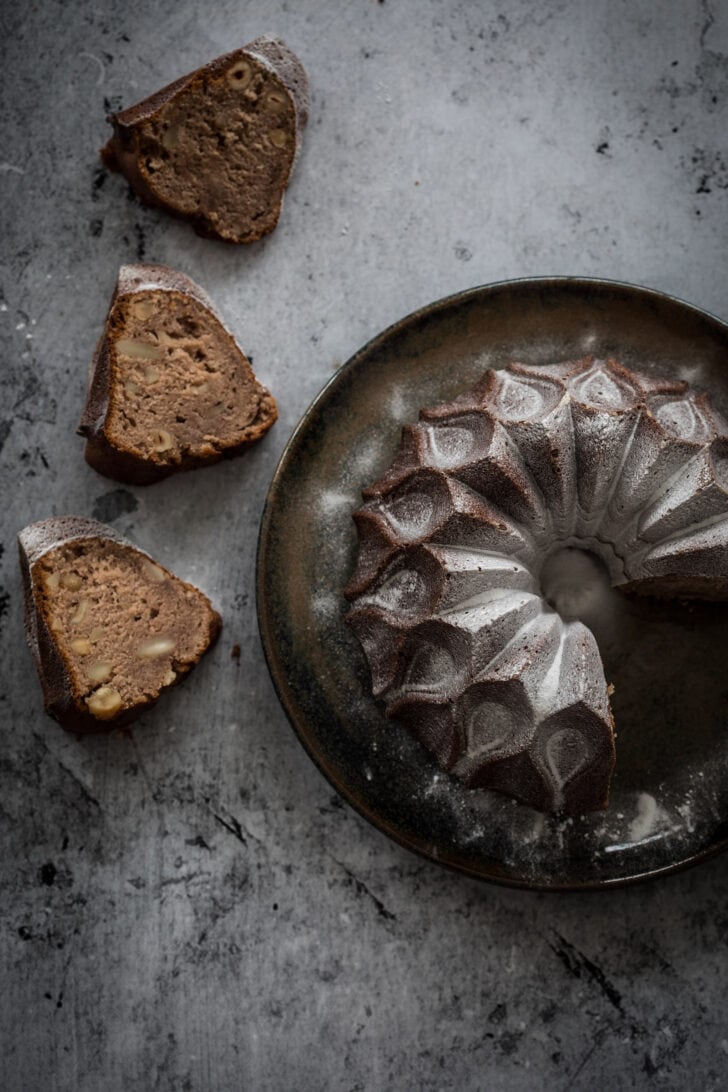
Then I use a large bowl to add all the dry ingredients (flour, cocoa powder, sugar) together and mix it through. In another bowl I add the wet ingredients (large eggs, Greek yogurt, vanilla extract), but keep the melted butter separate till the last step. Whisk it through and add the dry and wet ingredients together. You can use a food processor if you must but that is not really necessary as it is such a simple cake to make.
Adding the butter
Once the wet and dry ingredients are mixed you add the butter and using a spatula fold it through the cake batter. Add the chopped nuts and mix it through before you pour it into the prepared cake pans, bundt tin or other cake form. If necessary smooth the top of the cake and place it into the preheated oven.
Baking the chocolate hazelnut cake
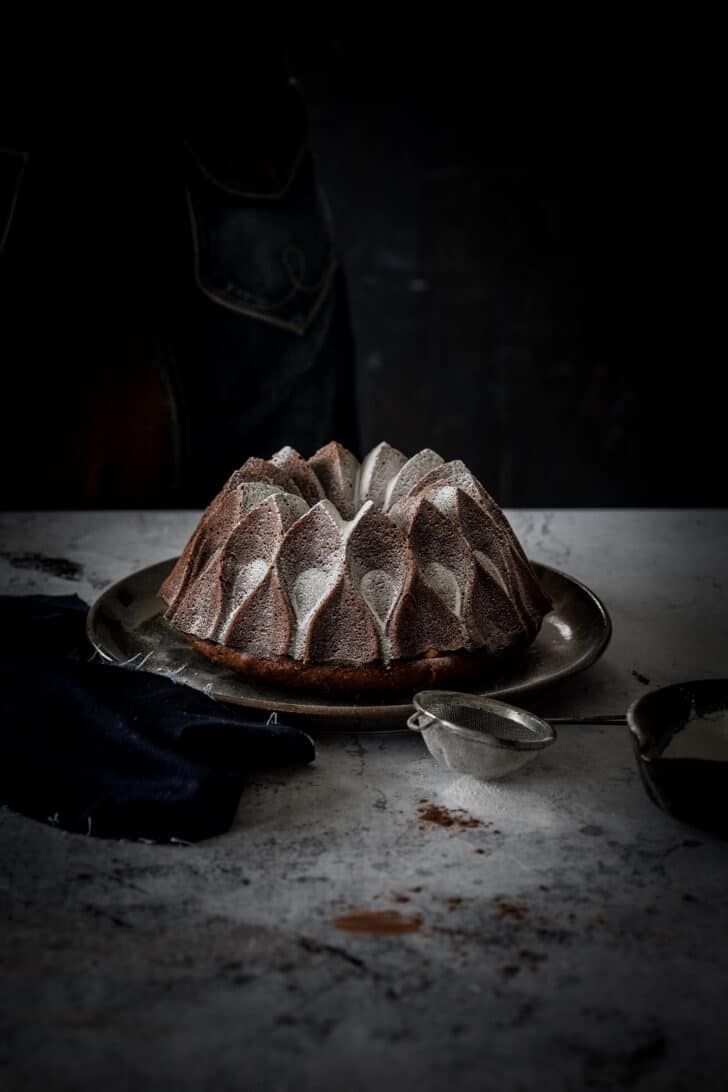
Now the waiting game can begin. The cake needs about a total of 40-50 minutes in the oven but it largely depends on what cake for you’ve used. A bundt tin can sometimes cook a bit faster since the heat comes from multiple angles due to the specific shape of the form. Make sure the cake is cooked by inserting a wooden skewer in a few places in the cake and if it comes out clean the cake should be ready. If you’re using a springform pan you can use parchment paper and that will make turning the cake out so much easier. But sadly that is not an option in a bundt tin.
Cooling the cake
Now comes the most important part of the baking and believe me when I say I’ve been too impatient many times. And that always resulted in a broken cake. So take your time, place the cake in the tin on a wire rack and let it cool for at least 10 minutes. You can usually see that the sides of the cake start to shrink away from the edges of the tin after some time. Now place a large wooden chopping board on top of the cake. Using both hands turn it over in one smooth motion. You should hear a plop sound indicating the cake has successfully been transferred to the wooden board. If not give it a gentle shake and pray to the cake gods to be kind….
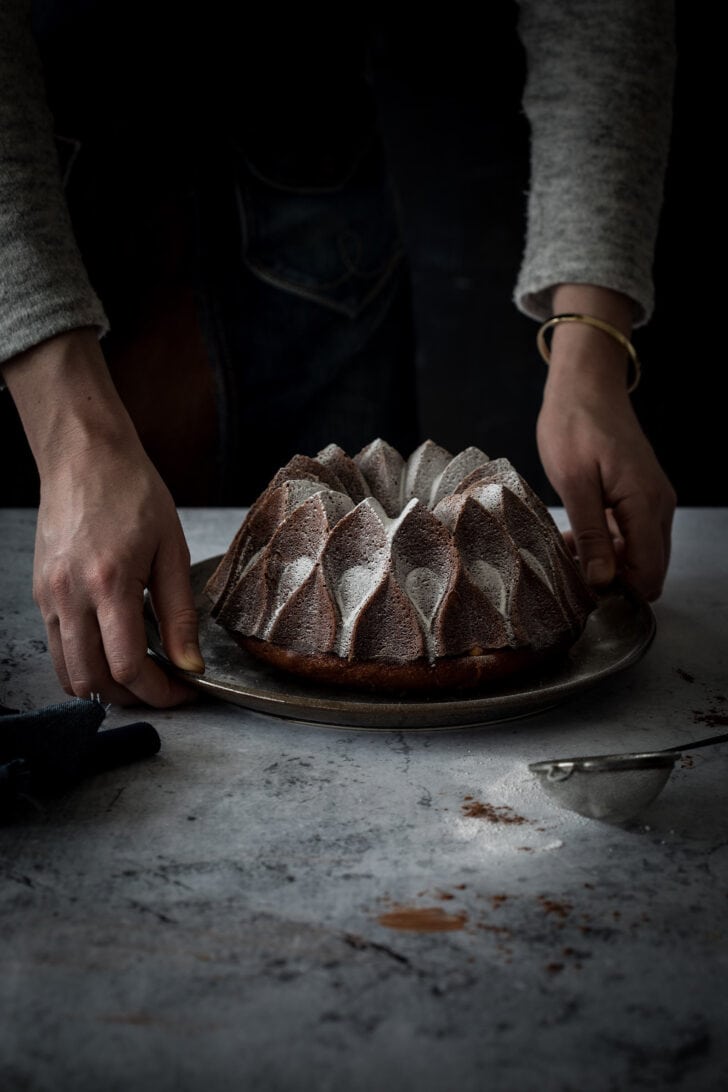
Let the cake cool down completely to room temperature before slicing. Now I’ve served this simply with a bit of icing sugar but you can also make a chocolate ganache to go over the cake. Depending again on what cake tin you’ve used you could even make a chocolate hazelnut buttercream. Or check the recipe for this white chocolate buttercream that I’ve used on the red velvet cupcakes. It’s a delicious cake no matter what you decide to serve it with. A simple cup of hot coffee will be enough but a thin layer of frosting makes everything better. Including this chocolate hazelnut cake recipe.
Additions and variations
Like I mentioned before this would also be delicious with some ground hazelnuts or almond flour inside. I will try that for next time. If this is your first time making the recipe, it’s always best to stick to the full recipe in the recipe card and make variations on it once you’re familiar with the recipe itself. Adding some dark chocolate chunks inside is also delicious and I love adding some raisins or dried cranberries as well. Any kind usually gets better by adding something inside.
Happy Baking!
Also try these:
Chocolate hazelnut bundt cake
Equipment
- 1 3 litre bundt cake tin
Ingredients
- 300 gram self raising flour
- 220 gram sugar
- 3 tbsp cacao
- 185 gram butter unsalted melted
- 310 ml yogurt
- 3 eggs
- 1 tsp vanilla extract
- 100 gram hazelnuts chopped
- 75 gram almonds roasted and chopped
- icing sugar to serve
- Preheat the oven to 180˚C (350˚F). Make sure you grease the tin with melted butter in every nook and cranny and dust with a little flour. Tap out all the excess flour and set aside.
- Add the self raising flour, sugar, cacao powder and salt together in a bowl and mix.
- In another bowl mix the yogurt, eggs and vanilla. Whisk and than add to the dry ingredients
- Add the melted butter as the last ingredient and stir through until smooth
- Add your chopped nuts, briefly mix and pour into your bundt tin
- Bake in the oven for 40 minutes or until a skewer comes out clean when inserted. Leave to stand for 10 minutes before turning out onto a cooling rack
Nutrition Information per portion
Disclaimer
The nutritional values above are calculated per portion. The details are based on standard nutritional tables and do not constitute a professional nutritional advice.

Wow!! That cake is amazing!! I love hazelnut and this one is gorgeous too!!
Thanks Melissa! And it tastes very wonderful too!
Thank you Simone for the tips. It is very helpfull.
Thanks Shibani!
This is soooo helpful! Thanks a million!
You’re welcome!
This is an amazing-sounding cake I plan to try very soon! Hazelnut flour is an often overlooked ingredient and pairing it with chocolate is a classic.
Ah thanks so much Donalyn! Yes it’s definitely a classic combination!